Published:
Overview
First, ensure the "Upload Files" behavior is enabled in your ChronoForms7 form settings. Then, add a File field from the "Pages" area to your form and configure its accepted extensions and maximum file size in the advanced settings. This process allows you to customize file uploads for your forms efficiently.
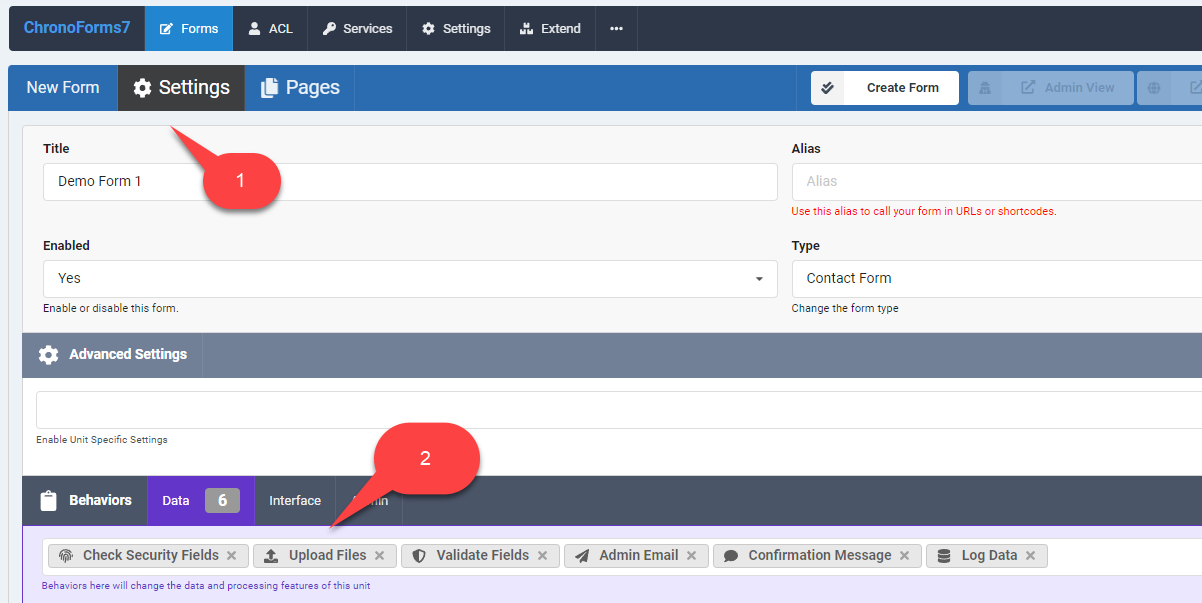
Open your ChronoForms7 form "Settings"
Make sure the "Upload Files" behavior is enabled.
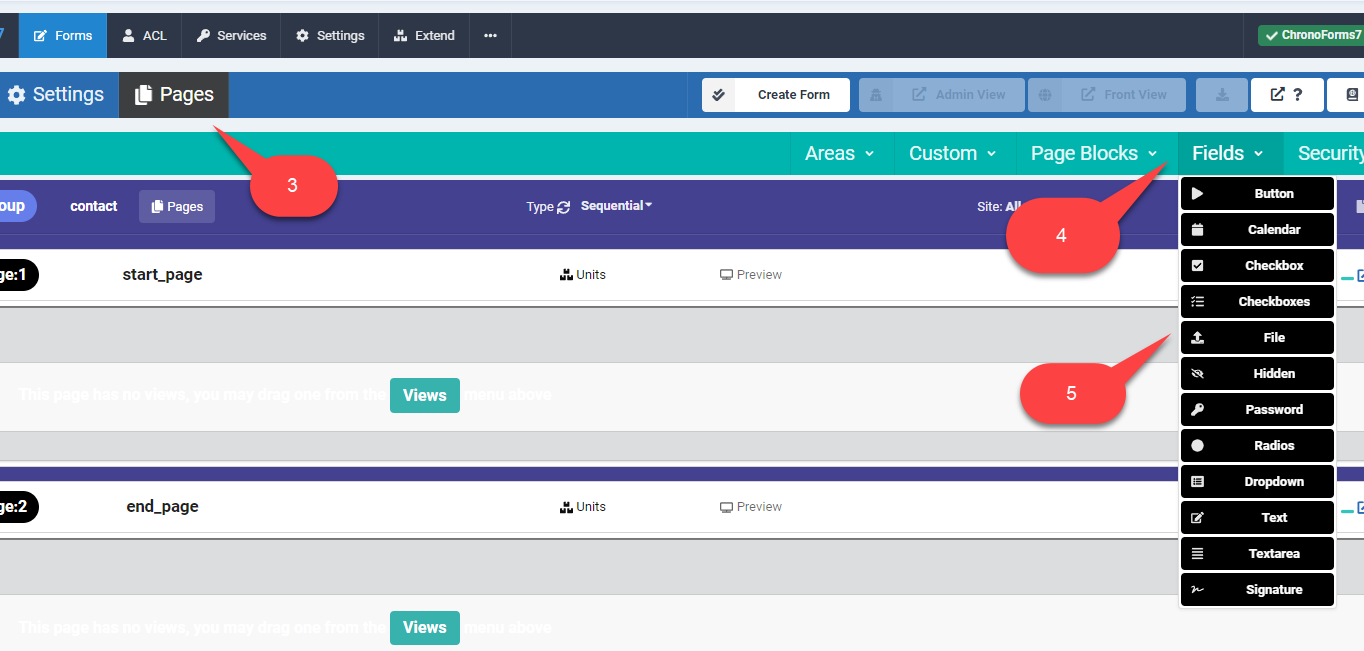
Go to the form "Pages" area *Select Fields
Drag a File field to the "Views" area
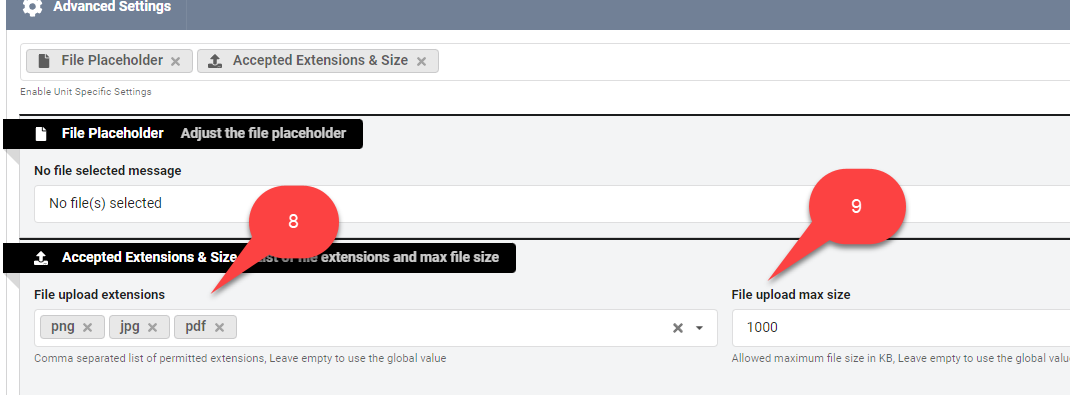
Open the file field settings and open the "Advanced Settings" section
Select "Accepted Extensions & Size"

In the "File upload extensions", write the extensions you want the file field to accept, then enter the maximum file size to allow.


Comments