If you need to store your form results in a database table you'll need to create a suitable table. ChronoForms has a quick way to do that.
After creating and saving your form, go to the Forms Manager and check your form:

Then click the "Create table" icon at the top right toolbar:

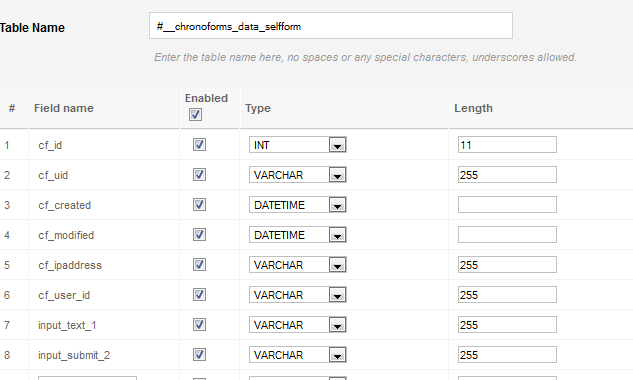
A new page should open with all the expected table's columns, you may alter the table name or disable/enable/alter any of the table's columns:
Once you are ready, click the save icon at the top right corner and your new table should be created.
Notes:
Uncheck the 'Enabled' box for the Submit button input, the Captcha code and any other form data that you don't need to save in the database.
If you change the 'Type' entry to anything other than INT or VARCHAR you may need to clear the 'Length' setting or the table creation may fail.
There is a limit on the maximum size of a row. This is around 80 VARCHAR(255) columns, if you find that you can't create your table consider reducing the size of some of the VARCHAR columns.
Textarea inputs should usually be given a type of TEXT; if you use VARCHAR(255) the any entries longer than 255 characters will be cut off at 255 characters.
You don't have to use the Create Table icon. ChronoForms can save to or read from any table that is accessible from your site server. If you want to use the DB Save action then the table needs to have an integer primary key.


Comments