In the last tutorial we explained how to make a simple list, in this tutorial, we will explain how to allow our users to edit and update the articles data.
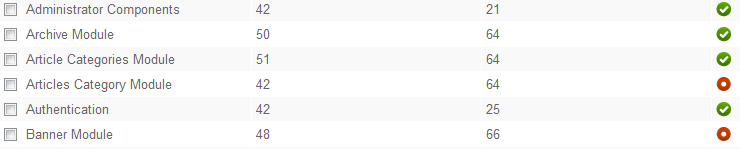
First, I don't like how the "state" field data is represented, this field controls the published status an article, 1 = published and 0 = unpublished, so let's give it the nice Joomla binary switcher icon, please add "state" to the "Binary Fields" box under the "Frontend List Settings" tab then apply.

And here is how the new state field looks like:
Try to click on one of the new icons ? you will get an "Access denied" message, because your user account doesn't have "Update Permissions", we will do this later.
Now let's make our "title" field link to our custom Article edit form:
Please open a new Joomla admin page and go to Extensions > Chronoforms > Form Wizard
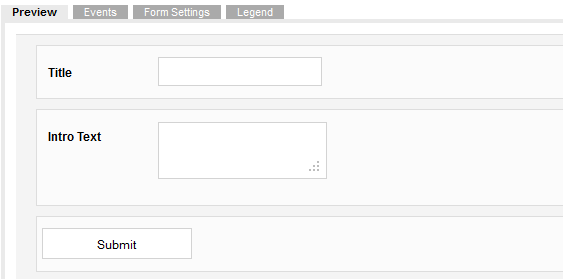
Drag a "Text box", "Text area" and a "Submit Button" elements, I will not explain how this is done here, but quickly configure your new fields as follows:
Text Box:
Label: Title
Field Name: title
Validations: Required
Text Area:
Label: Text
Field Name: introtext
Go to the "Events" tab and drag a "Show HTML" action under the "on Load" event.
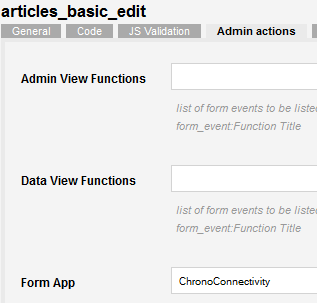
Go to the "Forms settings" tab and add a unique name to your form, form example, articles_basic_edit
Save and Close your form, in the "Forms manager", click the form name, under the "Admin Actions" tab, change the "Form App" to: ChronoConnectivity
Save again and return back to the connection's page browser window.
Enter "title" at the "Edit fields" box and hit "Apply":

Check your frontend view now, your articles titles should be linkable, but clicking any of them would:
- Show "Access denied" error, because nobody is allowed to read records data.
- Even if you give users read permissions, you would get a blank page because there is no form assigned to the edit task yet.

So let's fix this, back to our connection's edit screen, go to the "Front Editing" tab and select our created form under the "Front Form" dropdown:

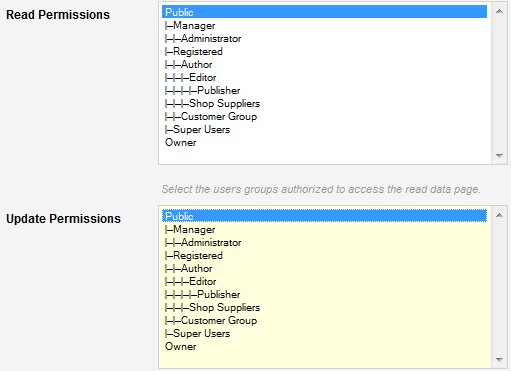
And then to the "Front permissions" tab to give the Public group "Read" and "Update" permissions:
Hit save or apply and go to the articles list screen, click any of the articles titles and you should be presented with the form we created loaded with the article's data:
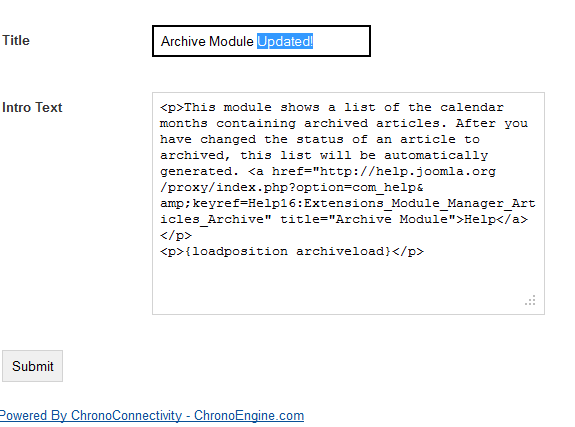
Submit the form and your article should be updated.
Moreover, you can now use the cool new state switching icons, click any of them to switch the article's state field value quickly.


Comments: